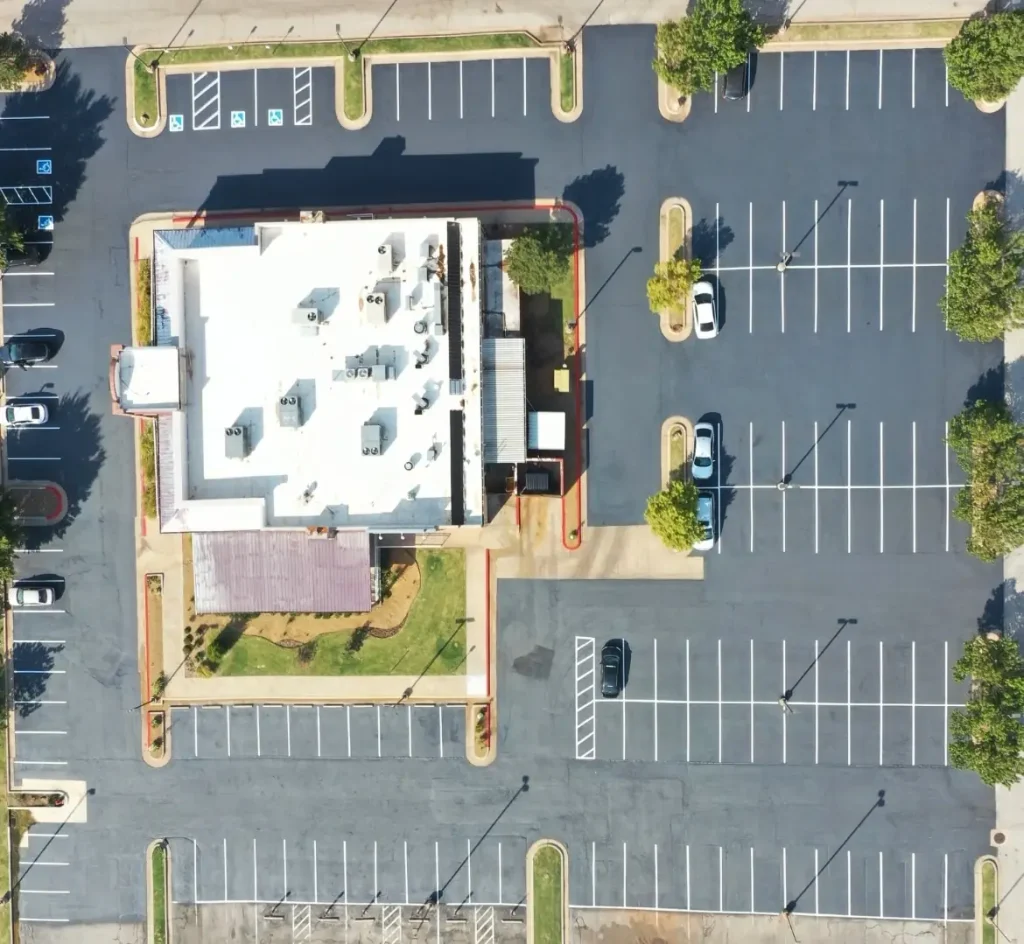
Why layout matters
A smart layout moves cars safely, fits the right number of stalls, and lowers long-term maintenance costs. It also cuts fender-benders, ADA complaints, and tenant frustration—payoffs you’ll feel the first busy Monday after repainting.
Step 1: Define goals before you draw lines
Start with who uses the lot and when. Retail needs fast turnover near the entrance; offices need commuter capacity with predictable peaks; clinics want accessible routes close to doors. Look at the vehicle mix—sedans, SUVs, work trucks, occasional box trucks—and how that affects turning space and stall size. Then consider near-future changes like EV adoption, outdoor seating, drive-thru queues, or seasonal snow storage so the layout doesn’t age out in a year.
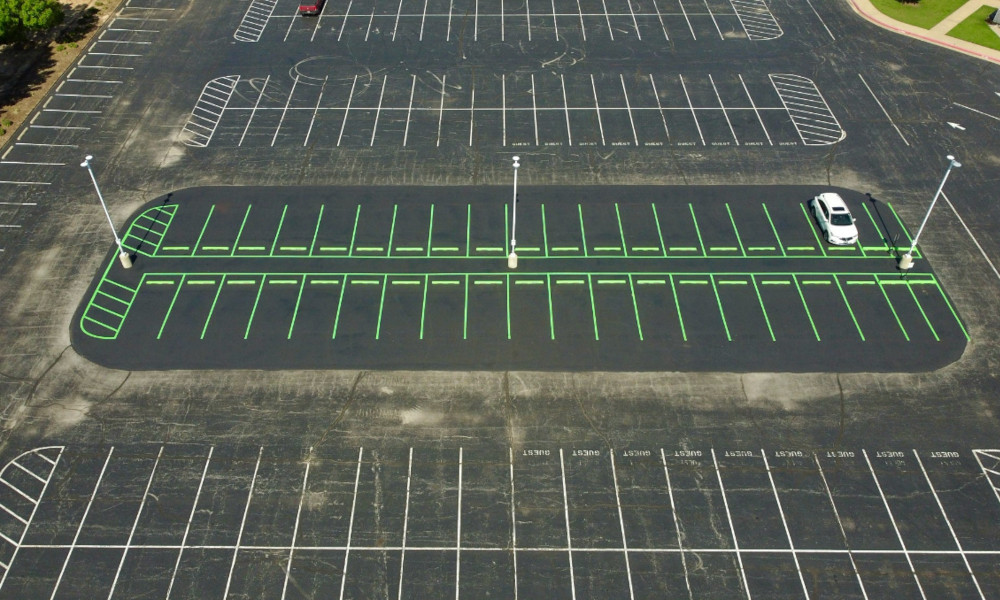
Step 2: Choose stall angle and aisle strategy
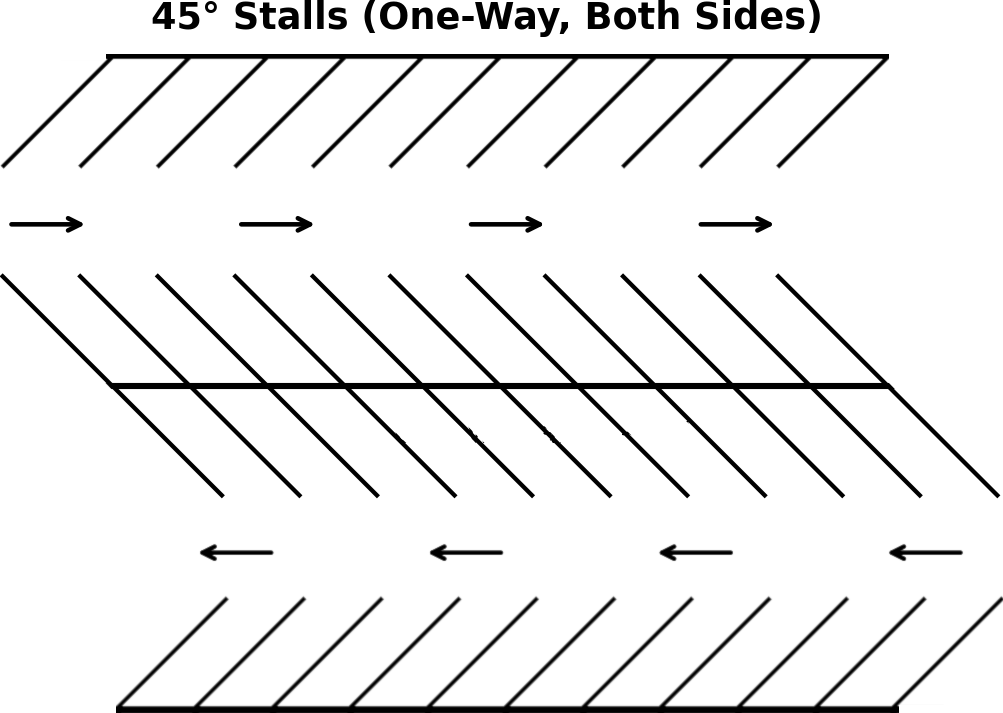
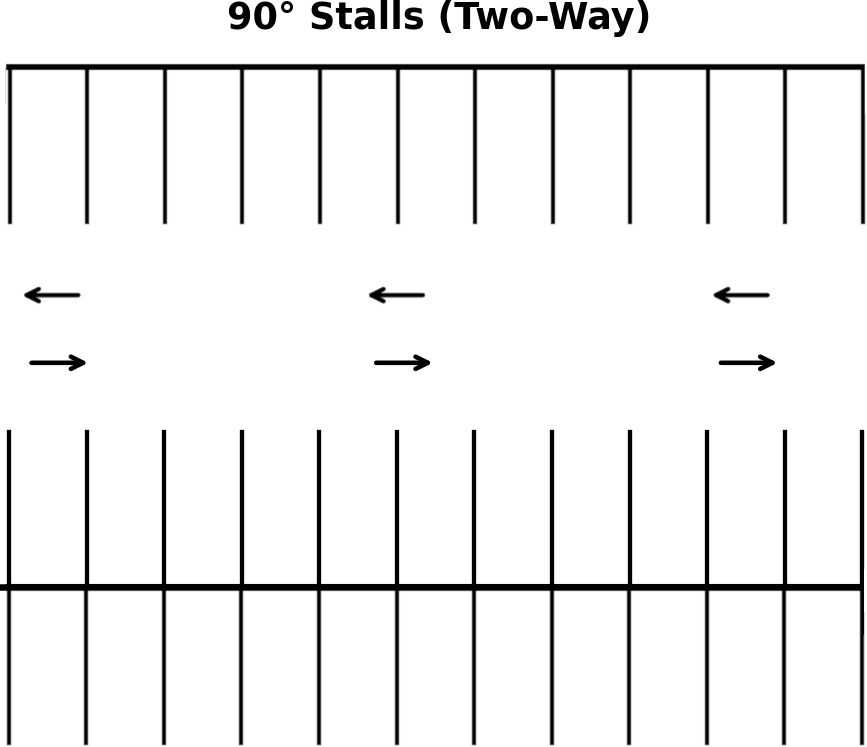
Angle options and trade-offs: 90° maximizes stall count but has tighter turning and slower flow; 60° suits retail with easier in/out and good capacity; 45° helps constrained sites with fast movements but requires longer aisles and yields fewer stalls. Two-way aisles work best at about 24 ft. One-way aisles that serve angled parking typically run 12–16 ft depending on the angle and local standards. At end bays, extend islands or use curbs or wheel stops so bumpers don’t overhang sidewalks or landscaping.
Step 3: Right-size your stalls
Most lots are happy at 9′ x 18′ (or 8.5′ x 18′ when space is tight). Compact stalls (7.5–8′ x 16′) belong in employee areas and should be signed. Where contractors, delivery vans, or work trucks are common, carve out a few 10′ x 20′ spaces or a pull-through near loading zones. For short-term pickup, add wider stalls with a buffer and high-visibility signage close to the entrance.
Step 4: Plan ADA accessibility the right way
ADA stalls should follow the shortest accessible route to the main entrance with no steps or abrupt grade changes. Include the required number of accessible spaces based on total stall count and make sure at least one is van-accessible when triggered. Keep access aisles level and hatched, connect them cleanly to a curb ramp, and use permanent signs plus pavement symbols that remain visible even when a vehicle is parked. Final counts, dimensions, slopes, and signage must be verified against current federal, state, and local codes before construction.
Step 5: Traffic flow, conflict points & safety
Give drivers room to decide as they enter—30–50 feet before the first turn reduces hesitation and sudden braking. Stripe crosswalks from primary bays to doors, add stop bars where pedestrians cross, and use islands to shorten walking distances. Keep fire lanes clear and well marked, and coordinate widths and turning radii with the fire marshal. Separate loading routes from customer doors so trucks don’t back across pedestrian paths. For speed control, use geometry first—slightly narrower aisles and subtle deflection—then add speed humps only where appropriate.
Step 6: Islands, drainage, and snow (or storm) strategy
Islands protect pedestrians, calm traffic, and anchor light poles while breaking up long runs of stalls. Aim for 1–2% surface slope toward inlets to avoid birdbaths that erase paint. In snow markets, designate push-to zones that won’t block visibility, ADA paths, or drains. Keep landscaping low at corners so sightlines stay open.
Step 7: EV charging without creating bottlenecks
Place chargers where power is easy to reach but keep prime ADA routes and front-door stalls available for general use. Blend long-dwell chargers in employee or tenant areas with a couple of faster-turn options closer to retail entries. Protect pedestals with bollards and route cords to keep pedestrian paths clear.
Step 8: Signage & wayfinding that actually works
Build a clear hierarchy: big decisions first (Enter/Exit), then lane arrows, then stall-level rules like time limits, compact, or curbside pickup. Keep fonts, colors, and mounting heights consistent from edge to entrance. At night, reflective paint and well-placed lighting on approaches, crosswalks, and decision points make the whole system feel intuitive.
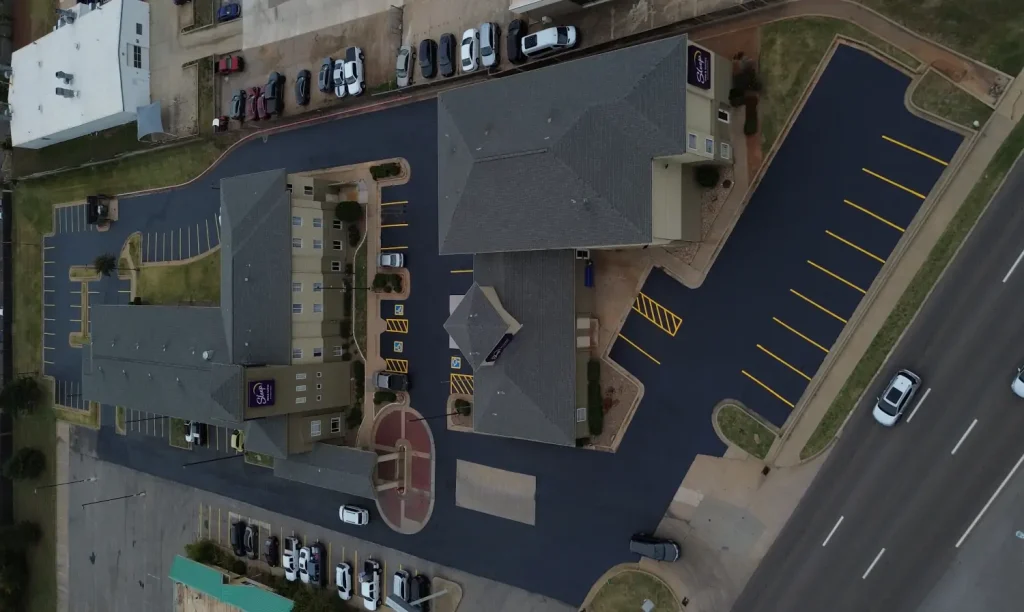
Step 9: Striping materials, colors & durability
- Paint: Fast-dry acrylic covers most lots; upgrade to two-component or thermoplastic for heavy-wear stop bars, crosswalks, and drive lanes.
- Glass beads: Add retroreflectivity on critical markings for night safety.
- Colors (typical): White stalls, yellow traffic control, blue accessibility, red fire lanes—confirm local standards.
Step 10: Field layout workflow (how we set you up for a clean result)
- Measure & grid: Establish baselines off stable edges; snap chalk lines for aisles first.
- Dry run: Walk conflict points—corners and crosswalk entries—before any paint goes down.
- Stripe guidance first: Centerlines, arrows, and stop bars, then stall lines and symbols.
- QC pass: Verify stall counts, ADA slopes/clearances, arrow directions, and sign visibility.
- As-built markups: Save final measurements for future repairs or expansions.
Common mistakes to avoid
Packing in too many stalls at the expense of turning radii and pedestrian routes is the classic error. Others include putting ADA stalls on a surface with a slope that is too great, close to planting islands or poles where trucks need swing room, skipping wayfinding at entries, and forgetting snow storage or delivery staging until complaints arrive.
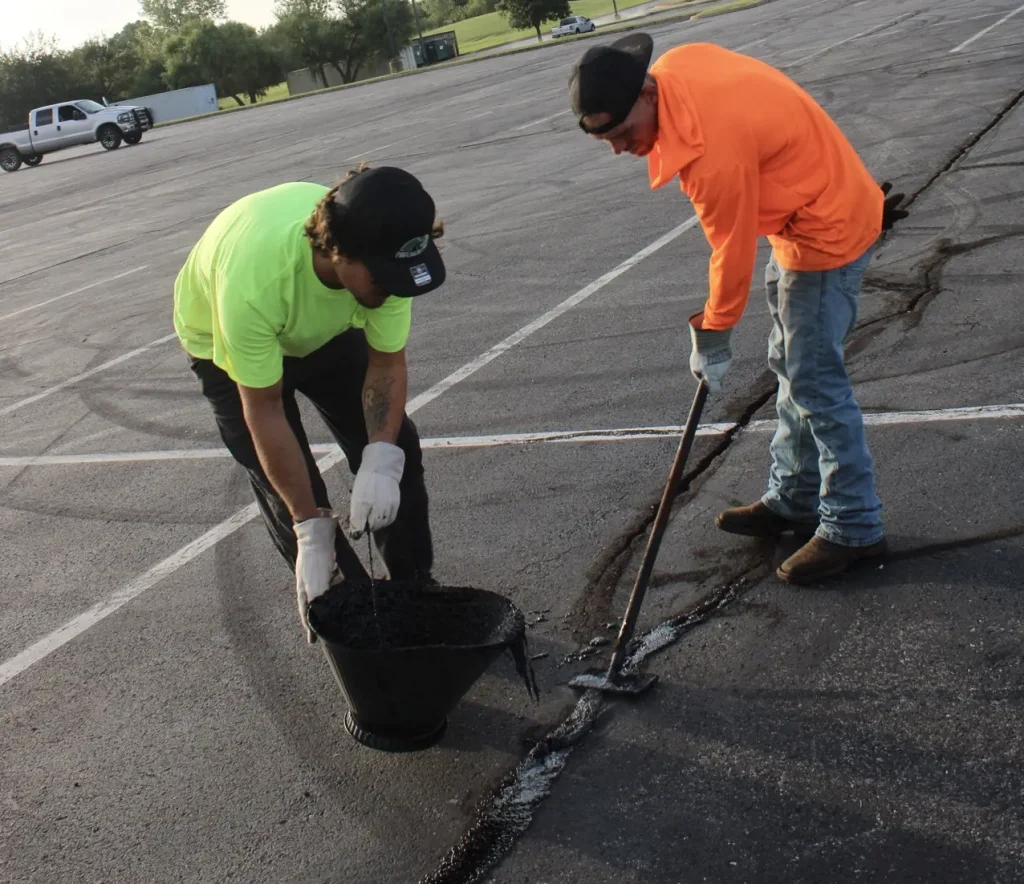
Maintenance plan that keeps stripes crisp
Plan to restripe every 1–2 years depending on climate and traffic, and pair it with sealcoating cycles to protect the surface. During seasonal checks, refresh high-wear stop bars, arrows, and crosswalks as needed. Keep a dated photo log and quick punchlist; approvals move faster the next time you refresh.
Ready to improve your lot?
If you want a layout that moves traffic smoothly, fits the right mix of stalls, and keeps you code-compliant, we can help—from planning and layout to parking lot striping, asphalt repair, and long-term maintenance. You’ll get a clear plan review and a phased schedule that minimizes disruption.